How To Create Your Own Server At Home For Web Hosting
Aadhya Khatri - Mar 11, 2021

Here is how to create your own server at home for web hosting in case you don’t want to pay someone else to host your website for you
It goes without saying that you need a server to host a website. And much like everything else in the world, you have to pay someone for a job you don’t want to, or can’t, do on your own. In this article on how to create your own server at home for web hosting, we will show you how to host your own web in case you don’t want to pay, and have the needed hardware and a strong enough Internet connection.
Please bear in mind that what we instruct here is to help you build a home server to host websites. It shouldn’t be confused with how to set up a home media server, which acts as a location that grants access to media files for users within a network.
Table of Contents
Step 1: Choose Your Hardware
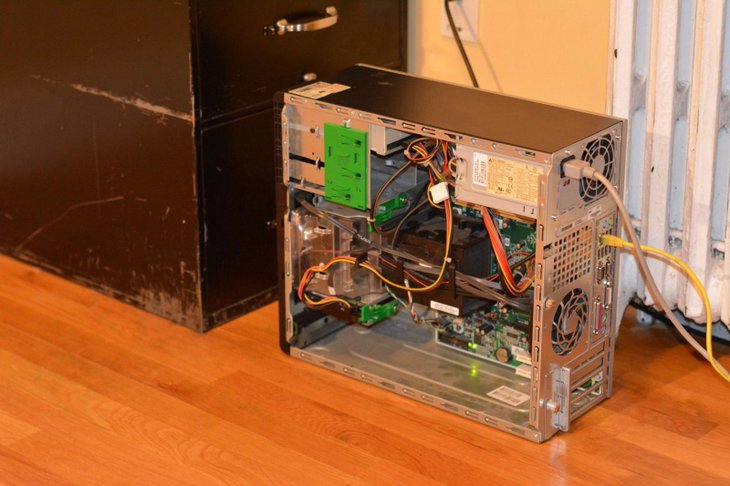
The first step in our guide on how to create your own server at home for web hosting is to check if you have the necessary hardware. Now think about how you want to use the website. How many users you would like to serve and how much processing power and storage you want to have?
Fortunately, if you don’t want to shell out some extra money for hardware or don’t have that kind of budget, an old PC is more than enough to run the needed hardware for your website.

One thing to keep in mind is the power consumption if you plan to keep the home server running 24/7.
And another thing, expect to have lots of cables, switches, and computers (you may need more than one), so it’s best to invest in a home server rack to keep everything organized.
Step 2: Choose Your Operating System: Linux or Windows?
The next step in our guide on how to create your own server at home for web hosting is to choose an operating system. You have two choices for the job, Linux and Windows.
The majority of servers now run Linux and why have a home server with this operating system boils down to the ease of customizing and the cost. Linux is open-sourced and free so compared to a paid operating system like Windows, it has a clear advantage.

Another reason to choose Linux is that it is more secure with fewer vulnerabilities for hackers to take advantage of.
Step 3: Check Your Internet Connection
Our how to create your own server at home for web hosting guide continues with the required Internet connection.
The upload and download speed are essential here. A regular connection for residential areas may have a fast download but a slow upload speed which determines how quickly you can upload your site to individual visitors.
Use a speed testing tool to check for connection and check for data limit on your connection. If there is a data cap on your usage, you may want to switch to another provider.
Step 4: Set Up And Configure Your Server
Now when you have had all the hardware you need for the home server build, it’s time to set up the software.

So here is how to create your own server at home for web hosting:
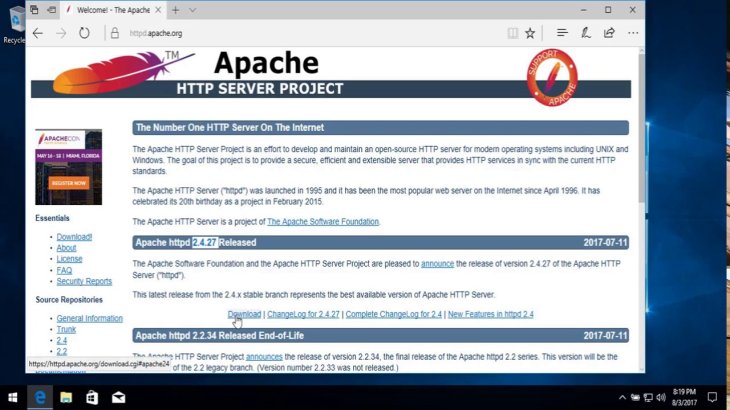
Step 1: Those who opt for Windows can install IIS – a web server add-on. Microsoft has a detailed document on how to do so. Otherwise, Linux users can choose between NGINX, Apache, or Lighttpd. Apache is quite well-known and can be used for Windows as well.
Step 2: You need to open ports on your firewall and home router to allow traffic to pass back and forth. Port 443 and 80 are the most important for the job.
Step 3: After the server has been configured, check to see if it works from a web browser. The majority of servers will display a test page which you can replace with your own files later on.
Step 5: Get A Domain Name And Check If It Works
Now you need a domain name so that people can find you. Of course, visitors can still find your site by typing in the external IP address of your web server. However, to make life easier for you and for them, you may want to buy a domain name or register a free subdomain name from several services like No-IP.
The next step in our guide on how to create your own server at home for web hosting is to set up the needed DNS entries to point to the IP address of your servers. Each registrar will have their own guider on how to do so.
Once the entries have been set up, wait for a few hours and the server should be ready to be used.
So that is how to make a home server, now it’s time to create your own.
>>> How To Stop Spotify From Opening On Startup On Mac, Windows 10, And Phones
Featured Stories

How To - Jul 25, 2025
Savant - Ascent REMIX Free Download (v1.2) - Electrifying Twin-Stick Shooter...

How To - Jul 25, 2025
Way of the Hunter Free Download (v1.23a) - The Ultimate Realistic Hunting...

How To - Jun 12, 2025
The Legend of Tianding Free Download (v1.01) - Become Taiwan's Legendary Outlaw

Features - Jun 11, 2025
Best VPN for PUBG Mobile 2025: Lower Ping & Regional Access Guide

How To - Jun 08, 2025
Telepath Tactics Liberated Free Download (v1.0.57) – The Ultimate Tactical RPG...

How To - Jun 07, 2025
The Mystery of Woolley Mountain Free Download – Whimsical Adventure Game

How To - Jun 07, 2025
We Need to Go Deeper – Complete Edition Free Download (v1.6.5)

How To - Jun 06, 2025
Pharaoh: A New Era Free Download – Build an Ancient Egyptian Empire

How To - Jun 04, 2025
Stardew Valley Free Download (v1.5.6) - Build Your Dream Farm

How To - Jun 04, 2025
RoboCop: Rogue City Free Download (v1.0.1.7 & ALL DLC) - Become the Legendary...
Read more

ICT News- Feb 18, 2026
Google's Project Toscana: Elevating Pixel Face Unlock to Rival Apple's Face ID
As the smartphone landscape evolves, Google's push toward superior face unlock technology underscores its ambition to close the gap with Apple in user security and convenience.

Mobile- Feb 17, 2026
Anticipating the Samsung Galaxy S26 and S26+: Key Rumors and Specs
The Samsung Galaxy S26 series is on the horizon, sparking excitement among tech enthusiasts.

Mobile- Feb 16, 2026
Xiaomi Launches Affordable Tracker to Compete with Apple's AirTag
For users tired of ecosystem lock-in or high prices, the Xiaomi Tag represents a compelling, no-frills option that delivers core functionality at a fraction of the cost.
Comments
Sort by Newest | Popular