How To Download Photos From Apple's iCloud To Mac
Anil - Feb 24, 2020

Here's how you can get backed-up photos directly on your Mac.
- Apple's Liquid Metal Hinge Poised to Deliver Breakthrough for Foldable iPhone After 16 Years of Quiet Research
- iOS 26.5's Under-the-Radar Features: Secret iPhone Tools You Need to Try
- iPhone 18 Rumors Suggest a Significant RAM Upgrade to 12GB
Apple creates a handy environment for those using its cutting-edge products, making users have their tasks done with ease. In case you’re using an old-fashion low-storage iPhone device, it’s safe to back up all your photos on iCloud. However, sometimes you need to download or share these backed-up photos from iCloud to other devices, and here’s how you can get them directly on your Mac.

Frankly speaking, you can simply share photos by using AirDrop if they’re still on your iPhone. If you’ve deleted them to have more storage capacity, it’ll take extra time to download older stuff to your device before sharing them. As said above, we’re here to transfer photos right into your Mac computer quickly.
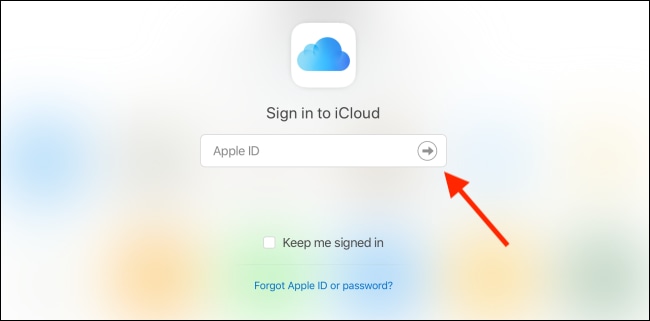
Firstly, make sure that you have your Mac there. Navigate to iCloud.com and sign in with your own Apple ID credentials (which are also used on your iPhone), and tap on “Next”.
Click on “Photos” button.

Now you’re able to see the interface of Apple Photos. Those who’ve used the Photos app on the Mac will find it very familiar.
Next, head to the sidebar and choose a particular album or media type you want to take or find them manually.

Left-click on a file or hold down “Shift” on your keyboard at the same time to select multiple files.

After you’ve completely handled all your choices, tap on “Download” in the toolbar to save them locally. The Mac will then start downloading them in a full-resolution format.

To find the downloads, you can visit the Downloads folder and check out that whether any file you need is downloaded or not.
Featured Stories

How To - Mar 04, 2026
Getting Started with AI: A Newbie's Simple Guide

Features - Jun 11, 2025
Best VPN for PUBG Mobile 2025: Lower Ping & Regional Access Guide

How To - Jun 04, 2025
What is a VPN? Your Complete Guide to Safe Virtual Private Networks

How To - May 29, 2025
Receive Buffers And Other Tips To Improve Your Internet Connection

How To - May 21, 2025
How to unlock a disabled iPhone: a step-by-step guide

How To - Mar 31, 2025
Elevate Your Online Presence: Partnering with a Small Business Digital Marketing...

How To - Aug 03, 2023
What is the Yo-Yo test in Indian Cricket?

How To - Jul 10, 2023
Top 7 Stats Sites Every Cricket Fan Must Know

How To - Apr 27, 2023
How much does it cost to start an online casino in 2023

Review - Oct 17, 2022
Betting on Sports Events in the Fairplay App
Read more

ICT News- Jul 29, 2026
The RAM Crisis: Graphics cards shoot up in prices again
Until memory production capacity catches up, graphics cards are likely to remain more expensive than many enthusiasts hoped.
Comments
Sort by Newest | Popular