Detailed Guidelines On Rooting Your Android Phone
SachinSangwan - Aug 31, 2019

Although the rooting concept is a bit complicated, the actual process is not that hard. Through the process, you can access all settings and sub-settings.
- Transforming Android: New Desktop Mode Makes Phones PC-Capable
- Android 17 Beta 1 Now Available for Pixel Devices
- These Are Must-Have Apps For Rooted Android Phones
Although the rooting concept is a bit complicated, the actual process is not that complicated. Through the process, you can access all settings and sub-settings. This means anything can be installed and uninstalled at any time. It is similar to having administrative privileges over Mac or PC. There are numerous rewards, along with some risks. So first take some precautions. Let's go through the process of rooting an Android smartphone. The steps given below are the same for all phones, like Samsung, Xiomi, Huawei, Google, etc.
Notes on the rooting process
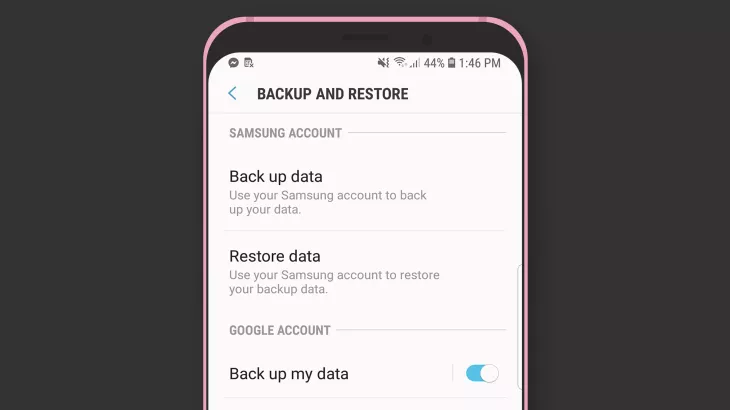
1. Backup the smartphone
Apparently, preparing a back up of data is a very important thing to do. While rooting the phone, there is a likelihood that something mishap occurs or even you opt for reverse rooting. So, back up the device using Third-party applications or Google's tools.
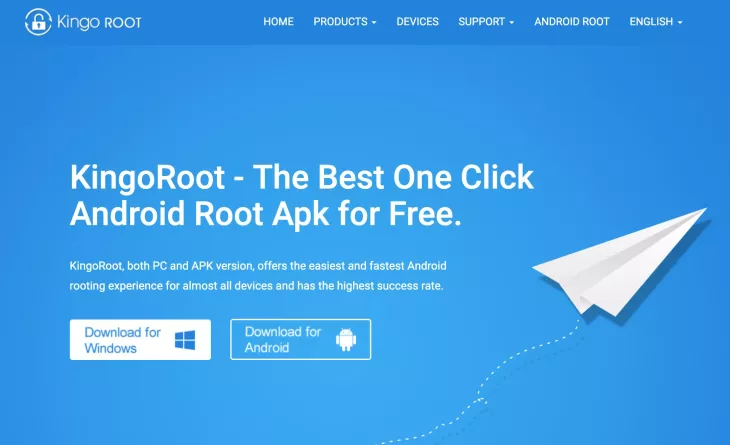
2. Select Custom ROM and APK
Now, select Custom ROM (this is an alternative of Android) or an Android application package (APK). As Android is open-source, there are numerous versions available. An Android application package (APK) enables us to distribute and install software on a device. There are two rooting programs: KingoRoot and TowelRoot, check which program can work with your phone.
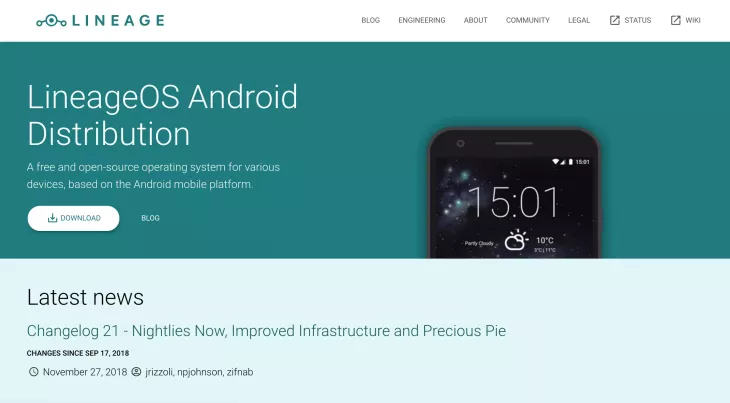
After rooting, you can either stop or install a custom ROM that gives access to more features. LineageOS is the most famous custom ROM, previously known as CyanogenMod. This was initially built in OnePlus One Android smartphone. Some other ROMs are Android Open Kang Project (AOKP) and Paranoid Android. You can also visit some other websites to get a description of various custom ROMs.
Rooting the smartphone
The rooting process varies depending on which one you use, custom ROM or APK although the basics don't change. Some websites such as AndroidForums, XDA Developers Forum, etc., offer in-depth instructions and information on rooting for some specific phone models. Let's go through the entire process.
1. Unlocking Bootloader
The bootloader controls which apps are running as you boot up the phone. By unlocking the bootloader, you get this control.
2. Installing Custom ROM or APK
APK lets you install software on a device. Kingo and Towelroot are the two most common APKs. Custom ROMs are alternative OS having the same features as Android but with different interfaces as well as more functionality. LineageOS and Paranoid Android are the most widely used but there are many more options.
3. Downloading a Root Checker
In case you use APK rather than Custom ROM, download an application to verify you have completed the rooting process successfully.
4. Installing Root Management Application
This application provides the phone with protection from security vulnerabilities while preventing apps from gaining access to private info.
Benefits and Risks
Rooting the Android phone has more merits than demerits. It gives you full control over the device, meaning you are able to view as well as change all settings and access apps that are meant for rooted phones only, including backup utilities, robust security, and ad-blockers. Options to customize the phone with different colors and themes, edit button configurations are also available. But that wholly depends on the OS version (rooted) that you pick.
The risks are quite minimal but you will void the warranty. Rooting may result in losing access to some applications or even killing the phone. It is quite important to weigh risks against all the features gained via rooting. If the right precautions are taken, there shall be no problem.
Featured Stories

How To - Mar 04, 2026
Getting Started with AI: A Newbie's Simple Guide

Features - Jun 11, 2025
Best VPN for PUBG Mobile 2025: Lower Ping & Regional Access Guide

How To - Jun 04, 2025
What is a VPN? Your Complete Guide to Safe Virtual Private Networks

How To - May 29, 2025
Receive Buffers And Other Tips To Improve Your Internet Connection

How To - May 21, 2025
How to unlock a disabled iPhone: a step-by-step guide

How To - Mar 31, 2025
Elevate Your Online Presence: Partnering with a Small Business Digital Marketing...

How To - Aug 03, 2023
What is the Yo-Yo test in Indian Cricket?

How To - Jul 10, 2023
Top 7 Stats Sites Every Cricket Fan Must Know

How To - Apr 27, 2023
How much does it cost to start an online casino in 2023

Review - Oct 17, 2022
Betting on Sports Events in the Fairplay App
Read more

ICT News- Mar 20, 2026
Top 10 Most Popular Social Media Sites Based on User Count in 2026
As technology evolves, expect continued growth in short video and AI-integrated features.

ICT News- Mar 19, 2026
Billion Dollar Blunder: Meta Shuts Down Metaverse After Wasting $80,000,000,000.00
The $80,000,000,000.00 experiment may be over but it provides valuable lessons for future innovation in immersive tech.
Comments
Sort by Newest | Popular