CPI Mouse: What Is It? How Is It Different From A DPI Mouse?
Dhir Acharya - Feb 02, 2021
If you are looking to buy a new computer mouse, you will likely encounter the term DPI and CPI. You need to distinguish between a DPI and CPI mouse.
If you are looking to buy a new computer mouse, you will likely encounter the term DPI and CPI. The reason is that it’s among the most common factors to consider when browsing options, especially for gaming. However, some manufacturers offer a CPI switch instead of DPI. So, what is a CPI mouse exactly and how different is it from a DPI one?
Table of Contents
What is CPI mouse?
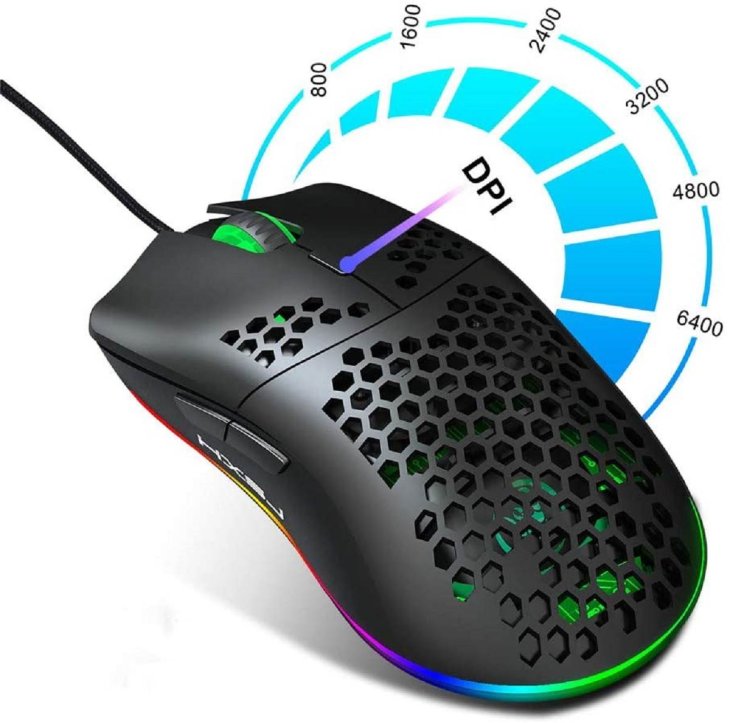
CPI stands for counts per inch, which refers to the number of steps a mouse will report as it moves one inch. This is essentially the sensitivity of the mouse and indicates the mouse’s coverage on the computer screen in relation to its physical movement.
What is DPI on a mouse?
On the other hand, DPI is the abbreviation for dots per inch, which is a measure of video dot density or spatial printing. The term signifies how many individual dots can be placed in one line within one inch. DPI describes the resolution number of dots per inch of a digital print and indicates the printing resolution of a hard copy print dot gain.
CPI vs DPI
Basically, CPI is related to gaming while DPI is used when it comes to printing. However, when looking at your mouse, you may see DPI, not CPI, why?
Technically, the right nomenclature is CPI, but DPI is more commonly used. For instance, graphic designers use the term DPI to indicate the quality and/or the depth of their images instead of PPI (pixels per inch).
In addition, companies often use terms that are more popular with the public and most people have heard of DPI. However, the downside is that people still use this term in place of everything closely related to CPI. For example, in terms of gaming mice, you may have found various models with the term DPI switch. In fact, that DPI switch is really a CPI switch.
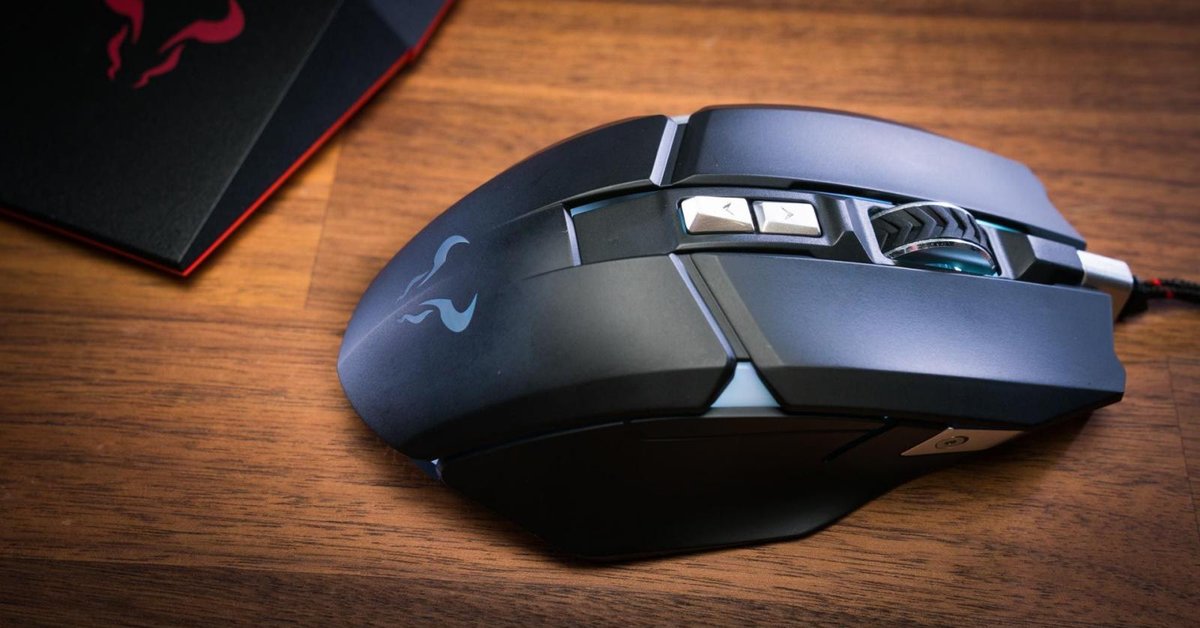
Meanwhile, there are still companies using the term CPI rather than DPI. The SteelSeries Rival 100 Gaming Mouse is an example, featuring a CPI switch, but the values include 250, 500, 1000, 1250, 1500, 2000, and 4000, quite different from the values often seen on mainstream mice with a DPI switch. For companies, DPI is used the same as CPI, but SteelSeries has set the DPI steps in accordance with their own choice.
How to check mouse CPI/DPI?
So, in the previous sections of this post, we have explained to you what does CPI stand for on a mouse and clarify the term mouse DPI. Now, we will show you how to check mouse CPI as well as DPI values.
There isn’t an app or setting in Windows where you can view the exact value of your mouse’s CPI or DPI. Instead, this indicator is often shown in the specs or documentation of the product. That leads to two ways of checking your mouse’s CPI or DPI.
Method 1: Check the specification
This is the most accurate way to apply, by looking up the mouse’s specification and find the metric documented by the manufacturer. You can measure the CPI/DPI yourself but it won’t be as accurate as the manufacturers’ documentation.
So, visit the official website of the manufactures and look up the model. Then, when the product page is opened, you can locate the section that contains all the specifications of the mouse.

Method 2: Measure CPI/DPI
For those who cannot find the mouse’s specifications on the internet, you can manually measure this value of your CPI mouse. As this method is not accurate, you will have to take averages. Besides, you will need to disable a setting in Windows that manipulates the CPI/DPI of the mouse to get the most accurate readings possible. Now, prepare a ruler, a piece of white paper, and a marker.
- Step 1: On your keyboard, press Windows+S then type “mouse settings” and open the app.
- Step 2: Click on Additional mouse settings at the top-left corner of the screen.
- Step 3: Select Pointer options then uncheck Enhance pointer precision.
- Step 4: Take out the white paper, measure about 2-3 inches then mark it with the marker. Next, navigate to the DPI Analyzer website and double-check the other limitations and requirements.
- Step 5: Measure the distance you need to move the mouse to make the cursor go from the left side to the right side of the screen. Input the distance in the Target distance box.
- Step 6: At the bottom of the page, click the red crosshair and drag it to the right, moving the mouse through the distance you entered in Target distance. Make sure the pointer doesn’t reach the edge of the monitor.
- Step 7: As you release the button, you will see a figure titled “actual DPI,” which is the approximate value the mouse is set to.
>>> What Are The Best Video Sharing Platforms For Content Creators?
Featured Stories

How To - Mar 04, 2026
Getting Started with AI: A Newbie's Simple Guide

Features - Jun 11, 2025
Best VPN for PUBG Mobile 2025: Lower Ping & Regional Access Guide

How To - Jun 04, 2025
What is a VPN? Your Complete Guide to Safe Virtual Private Networks

How To - May 29, 2025
Receive Buffers And Other Tips To Improve Your Internet Connection

How To - May 21, 2025
How to unlock a disabled iPhone: a step-by-step guide

How To - Mar 31, 2025
Elevate Your Online Presence: Partnering with a Small Business Digital Marketing...

How To - Aug 03, 2023
What is the Yo-Yo test in Indian Cricket?

How To - Jul 10, 2023
Top 7 Stats Sites Every Cricket Fan Must Know

How To - Apr 27, 2023
How much does it cost to start an online casino in 2023

Review - Oct 17, 2022
Betting on Sports Events in the Fairplay App
Read more

ICT News- Jul 29, 2026
The RAM Crisis: Graphics cards shoot up in prices again
Until memory production capacity catches up, graphics cards are likely to remain more expensive than many enthusiasts hoped.
Comments
Sort by Newest | Popular