Do Not Let Germs Develop In Your AirPods, Here Is How To Clean It
Aadhya Khatri - Apr 01, 2019
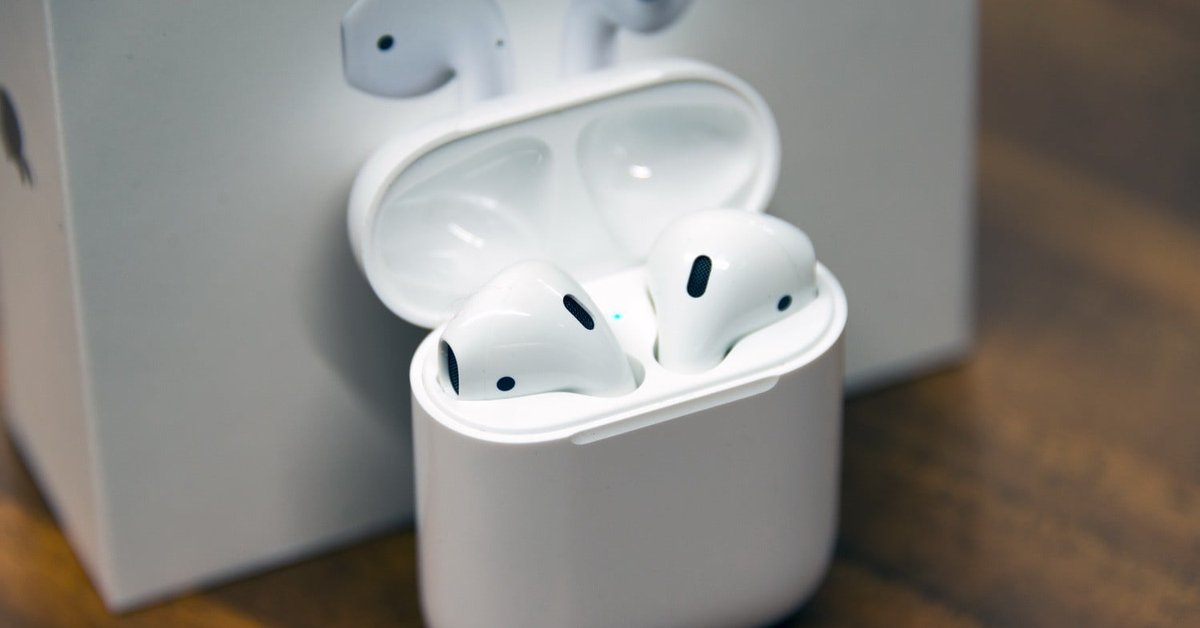
The tools required are just normal items you can find anywhere
- Apple Kills Original HomePod, Focusing On HomePod Mini
- iPhone 12 Color Is Fading Away Quickly And No One Knows Why
- Apple Sues Ex-Employee For Stealing Company’s Secrets To The Media
If you feel it is weird to wear the same dirty clothes for the second day, so why wear your AirPods without giving it a proper cleaning? Many users do not clean their earbuds not because they do not know how to spell hygiene, but rather because they do not know how to do that task.
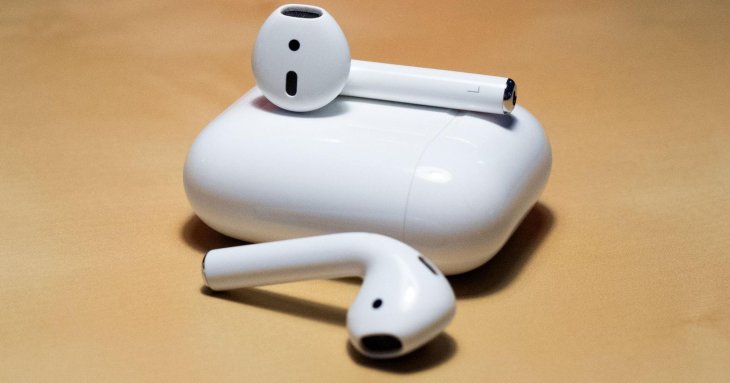
Why do not give your AirPods a proper cleaning
The worst case scenario is the AirPods grow yeast or a kind of bacteria that can enter your body and cause damage. The more reasons to learn the proper cleaning steps. Here are what you can do to keep your AirPods from accumulated dirt. The pack is not water resistant so be careful not to let any liquid penetrate the earbuds, except for 70% isopropyl alcohol.
Step 1
Separate the earbuds from the case; we will start with them first.
According to Apple, what you need to use is a dry piece of cloth without lint. Your ears produce wax, and it usually sticks to the meshes. To clean these parts, make use of Q-tips. If there is dirt, use a soft brush to remove it. Please note that the meshes are sensitive so do not anything sharp, pointy or too intrusive.
If you have a piece of cloth made for cleaning glasses, you can use it on the earbuds too. It can replace the brush in this case.

Use the piece of cloth that you use to clean glasses
If the wax and dirt are especially hard to clean off, you can take a dental floss stick to dig it out gently. Be careful with the angle you put the stick in as you may push the dirt farther into the earbuds by accident.
If you cannot find any of these items, here are some alternatives, which you can probably find lying around the house.

A SIM removal tool will do
A tubular lock pick is handy to come in the place of the dental floss stick; it is pointy so be extra careful here. If you have a smartphone, it probably comes with a SIM removal tool, which can be used in this case too.
Step 2
Now we clean the AirPods case.
The case does not come near your ears to get in contact with wax, but it can get dirt transmitted from the earbuds or the environment around.
Apple said that the best way to treat it is to let a piece of cloth absorb a little bit of 70% isopropyl alcohol, which is widely available at drug stores or on Amazon.
Please note that water is a big no here either. To clean the Lightning connector, make use of a soft brush. Avoid using anything sharp or metal as it may harm the delicate contacts used to power the AirPods.

You may use a soft toothbrush
A piece of cloth is enough to wipe away thin layers of dirt or ear wax, but if the impurities have been there for a long time, it may not be enough.
What you should do is to use a Q-tip or a brush, or both. If one does not work, try the other until you scrape all the dirt out.
If impurities have gotten to hidden corners of the earbuds, a brush might be a better option than the cloth as it has bristles that can reach deeper. If you use the Q-tip, dampen it with 70% isopropyl alcohol to clean the case faster.
The charging part cannot withstand any water so be extra careful when you reach it. Better safe than sorry.
Let’s take a look at how an AirPods looked before it was cleaned with a Q-tip, soft brush, and 70% isopropyl alcohol (to wet the tool just a little bit):

Dirt is everywhere
Here is what it looks like after the process:

Look cleaner
Featured Stories
Gadgets - Aug 17, 2023
The Best UPS For Gaming PC In 2023

Gadgets - Aug 03, 2023
Full Gaming PC Setup Price In India 2023

Gadgets - Jul 19, 2023
How Gadgets Enhance Online Casino Gameplay

Gadgets - Jun 15, 2023
10 Best Mobile Gaming Gadgets 2023!

Gadgets - Apr 28, 2022
Three Reasons Why Investing in a Gaming Mouse Will Improve your Performance and...

Gadgets - Mar 18, 2022
The Rise of CSGO Gambling

Gadgets - Mar 19, 2021
Bip S Lite Review: One Of The Best Options Under Rs. 5000
Gadgets - Mar 19, 2021
Best Headphones For Gaming: Top Picks For Every Budget

Gadgets - Mar 19, 2021
How Mouse Works: Who Invented It And How Do Different Types Work?
Gadgets - Mar 17, 2021
Comments
Sort by Newest | Popular